
Basics
Basic options of TinyMCE.
The default TinyMCE editor will look like this:
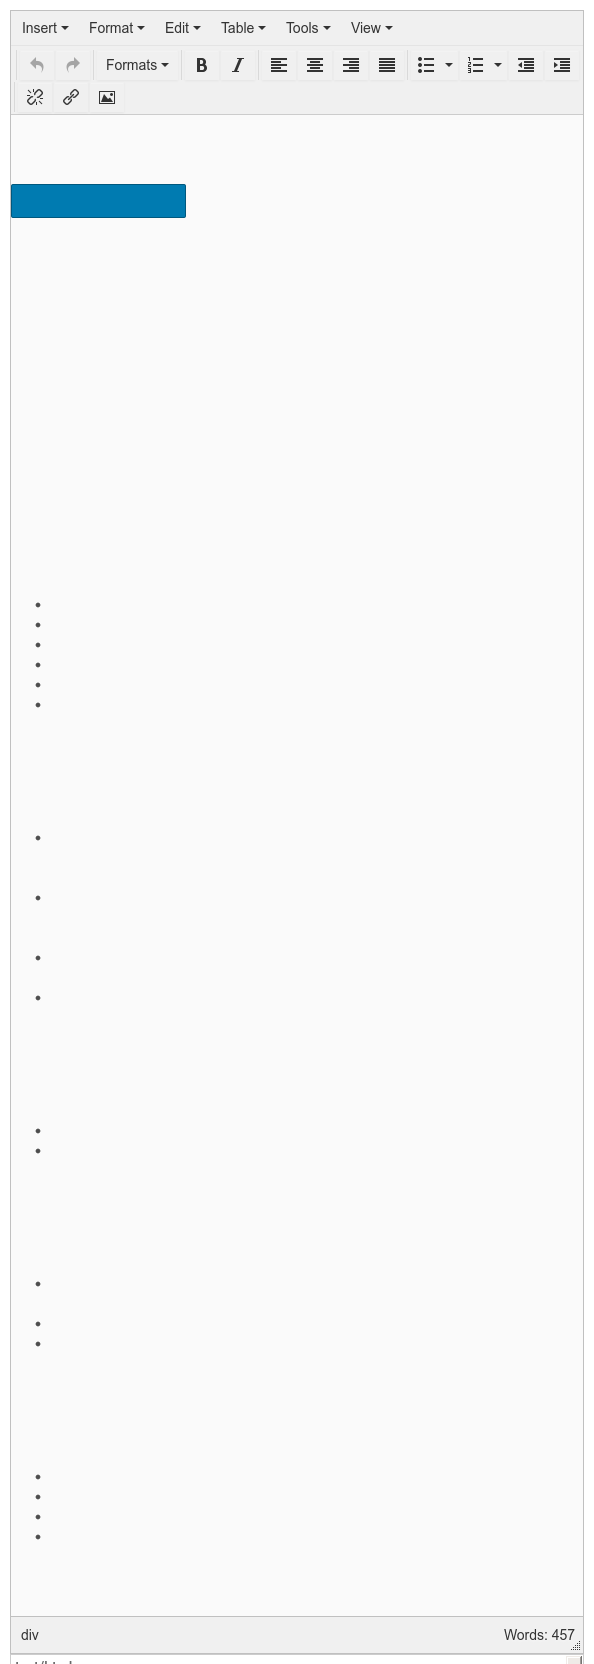
On top you can see the toolbar, below the text area with the actual content you are editing and at the bottom a status bar. If you drag the lower right corner you can make the editor window bigger or smaller.
The editor allows you to style text, add images and links, add tables and more.
Note
Although it may look like a word-processor on your desktop computer, editing text for the web is slightly different. You would create headlines by selecting the “Formats” dropdown, and then choose “Header 1” (biggest) to “Header 6” (smallest).
You would not choose the font and size directly, those are set up by the theme. This will ensure a consistent look over your site, and it is also important to make content available to different devices (phones, tablets) and to ensure the best result for people with disabilities.
The toolbar icons and dropdowns generally work as you would expect.
Some of the more interesting ones are explained in the sections Inserting images, Inserting links and Inserting tables.
If you want to get at the pure HTML source code of your text, just use the ‘Tools’ menu.