Working Copy
Working Copy lets you have two versions of your content in parallel.
Note
When a Plone site is first created, there are a number of additional features that can be enabled, including “Working Copy”. If the Plone site you are using doesn’t show the “Check out” option under the Actions menu, you will need to contact your site manager and request that “Working Copy Support (Iterate)” be installed.
Overview
You might have been in a situation like this before: you have published a document, and you need to update it extensively, but you want the old version to exist on the web site until you have published the new one. You also want the new document to replace the current one, but you’d like to keep the history of the old one, just in case.
Working copy makes all this possible.
Essentially, you “check out” a version of the currently published document, which creates a “working copy” of the document. You then edit the working copy (for as long as you like) and when you’re ready for the new version to go live, you “check in” your working copy, and it’s live.
Behind the scenes, Plone will replace the original document with the new one in the exact same location and web address and archive the old version as part of the document’s version history.
Using “Check out”
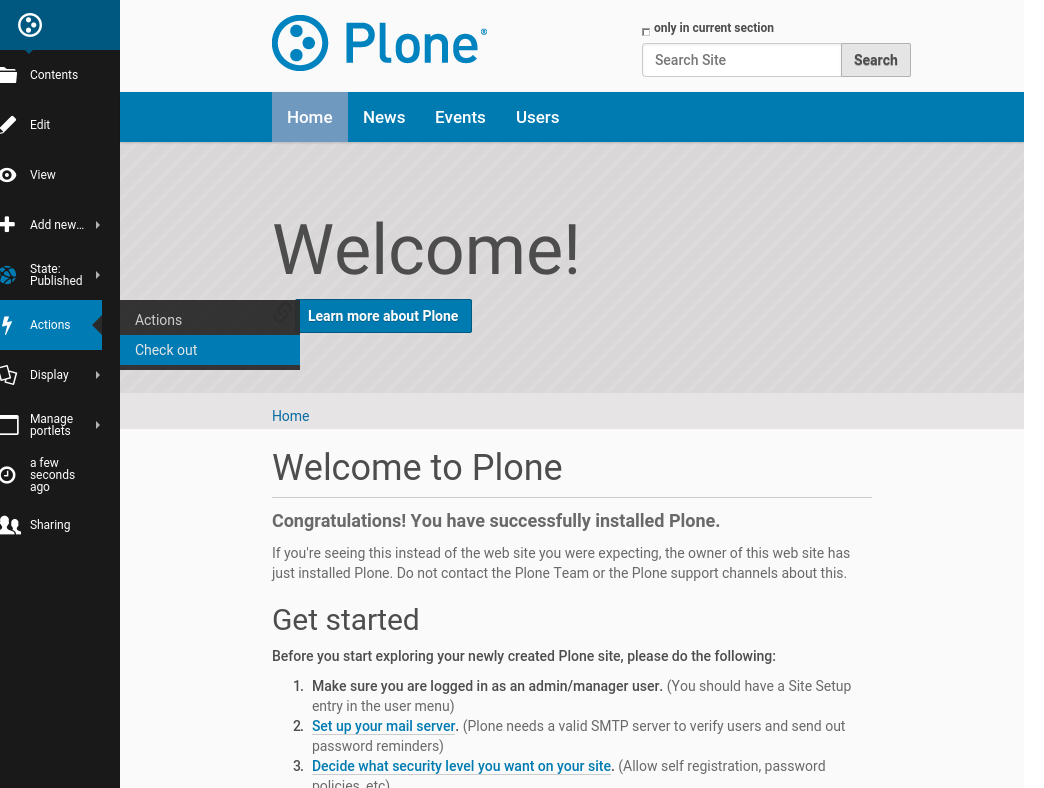
First, navigate to the page you want to check out. Then from the “Actions” menu, select “Check out”:
An info message will appear indicating you’re now working with a working copy:
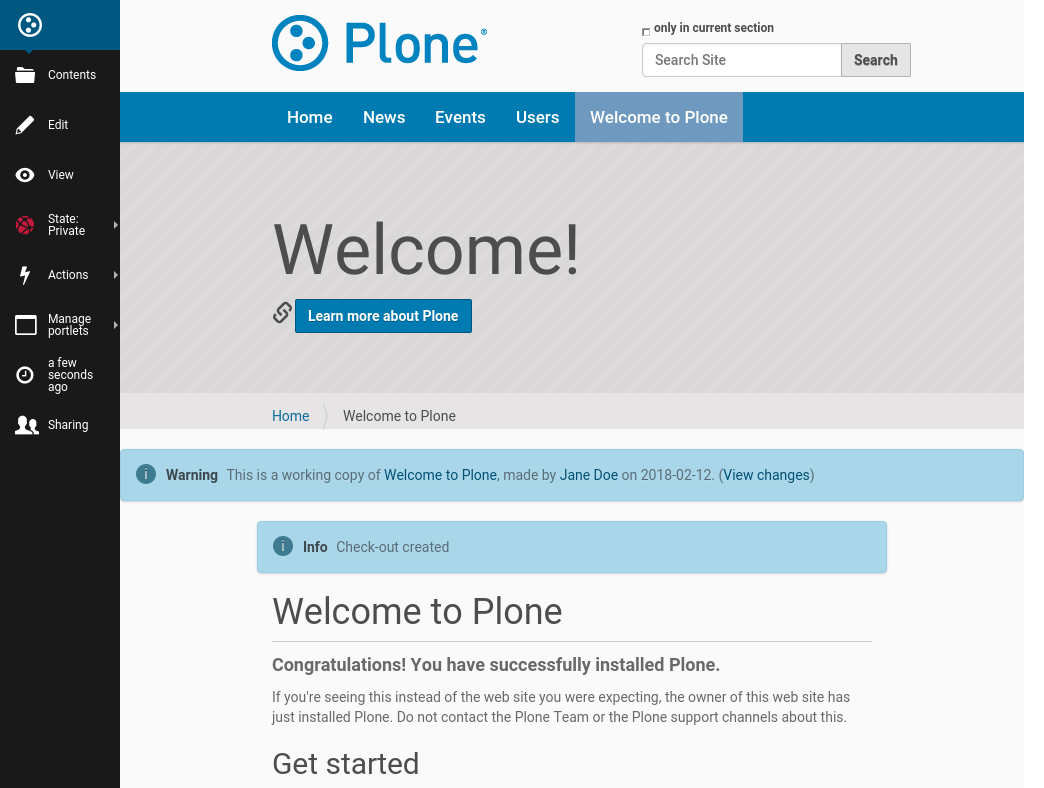
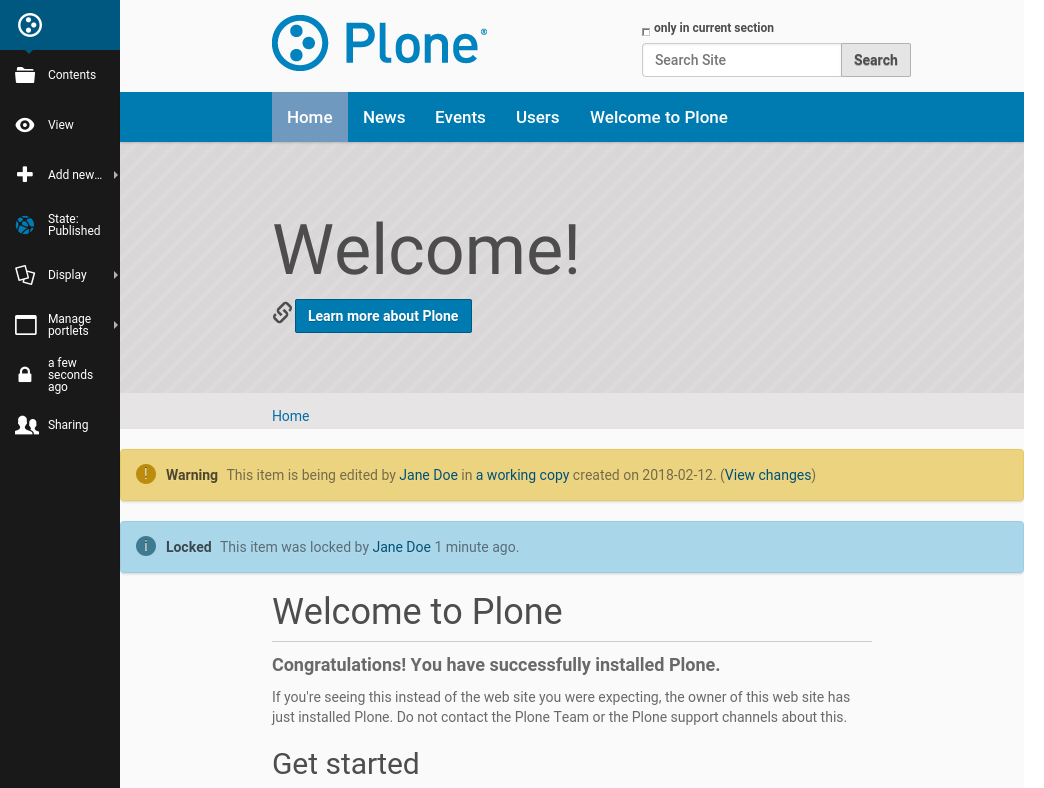
Now you’re free to edit your own local copy of a published document. During this time, the original document is “locked” – that is, no one else can edit that published version while you have a working copy checked out. This will prevent other changes from being made to (and subsequently lost from) the published version while you edit your copy.
Using “Check in”
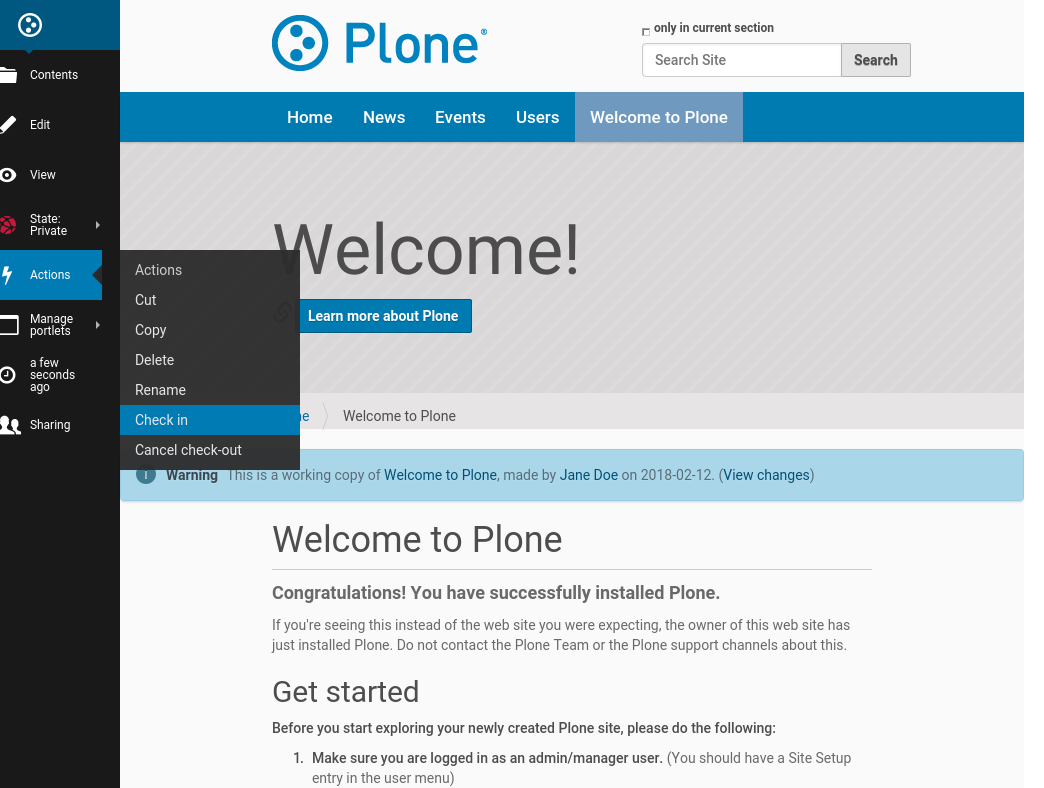
When you are ready to have your edited copy replace the published one, simply choose “Check-in” from the “Actions” drop-down menu:
You will then be prompted to enter a Check-in message. Fill it out and click on “Check in”:
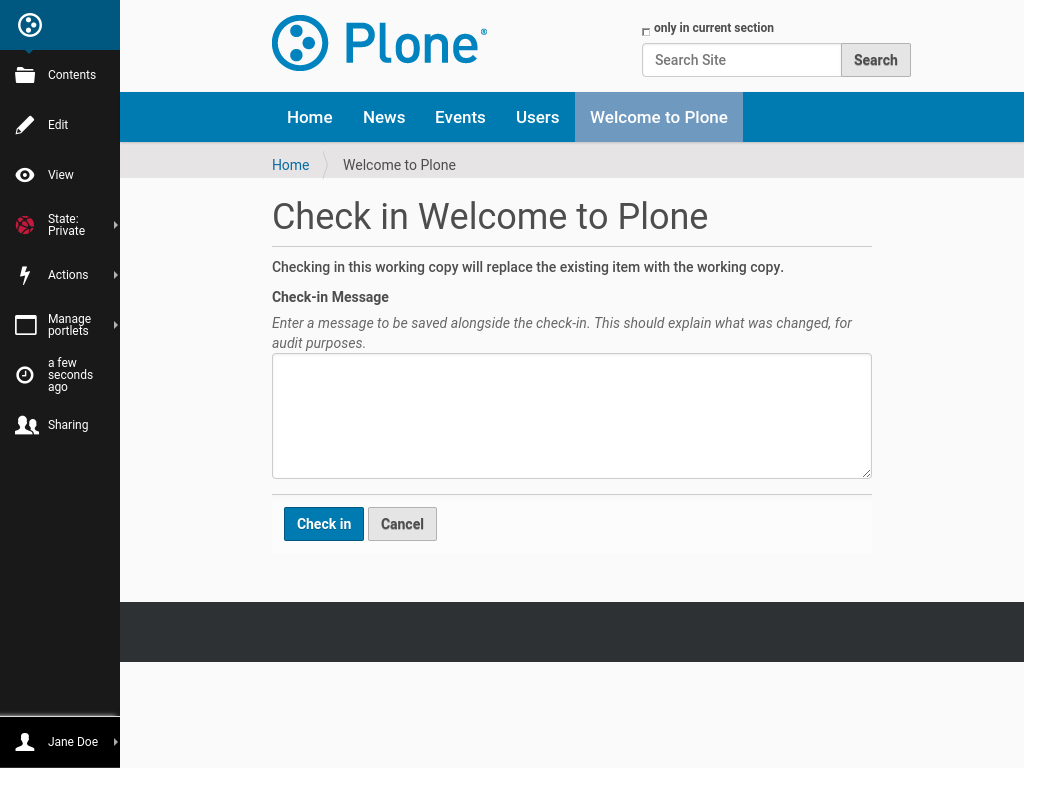
Your updated document will now replace the published copy and become the new published copy.
You will also notice that there is no longer a copy of the document in the folder.
Note that it is not necessary (and in fact, it is not recommended) to use the “State” drop-down menu on a working copy. If you inadvertently do so, however, don’t panic. Just go back to your working copy and use “Check in” from the “Actions” menu.
Canceling a “Check out”
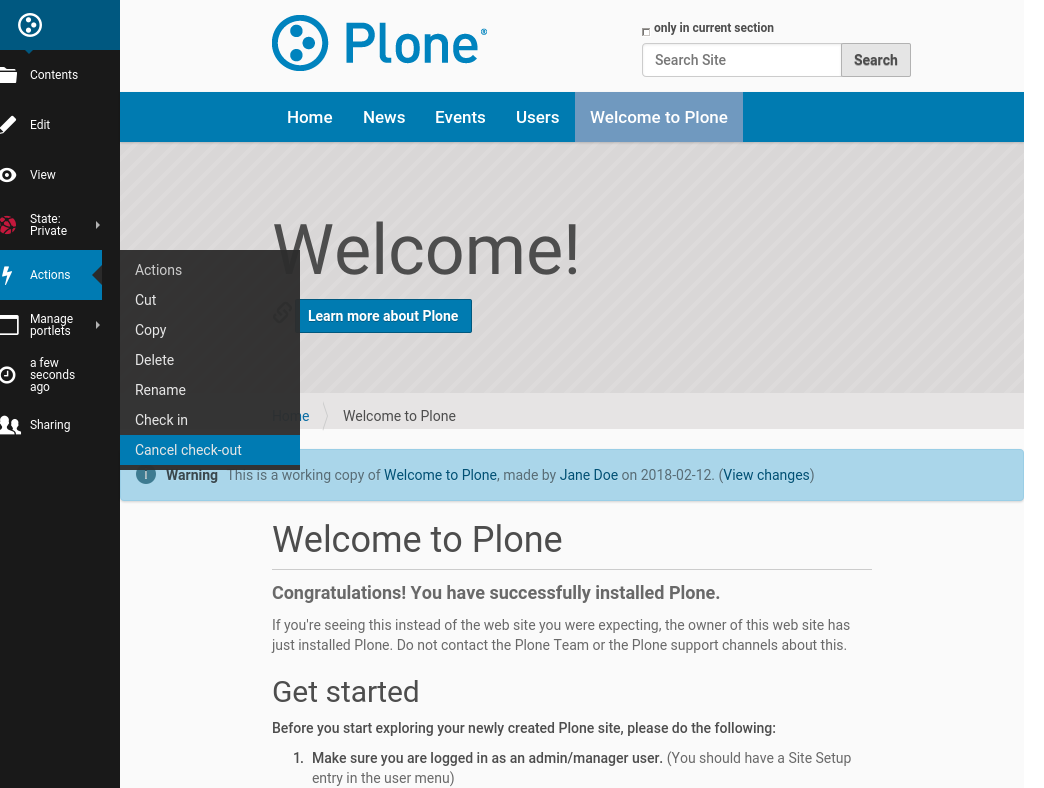
If for any reason it becomes necessary to cancel a check out and you don’t want to save any of your changes, simply navigate to the working copy and select “Cancel check-out”:
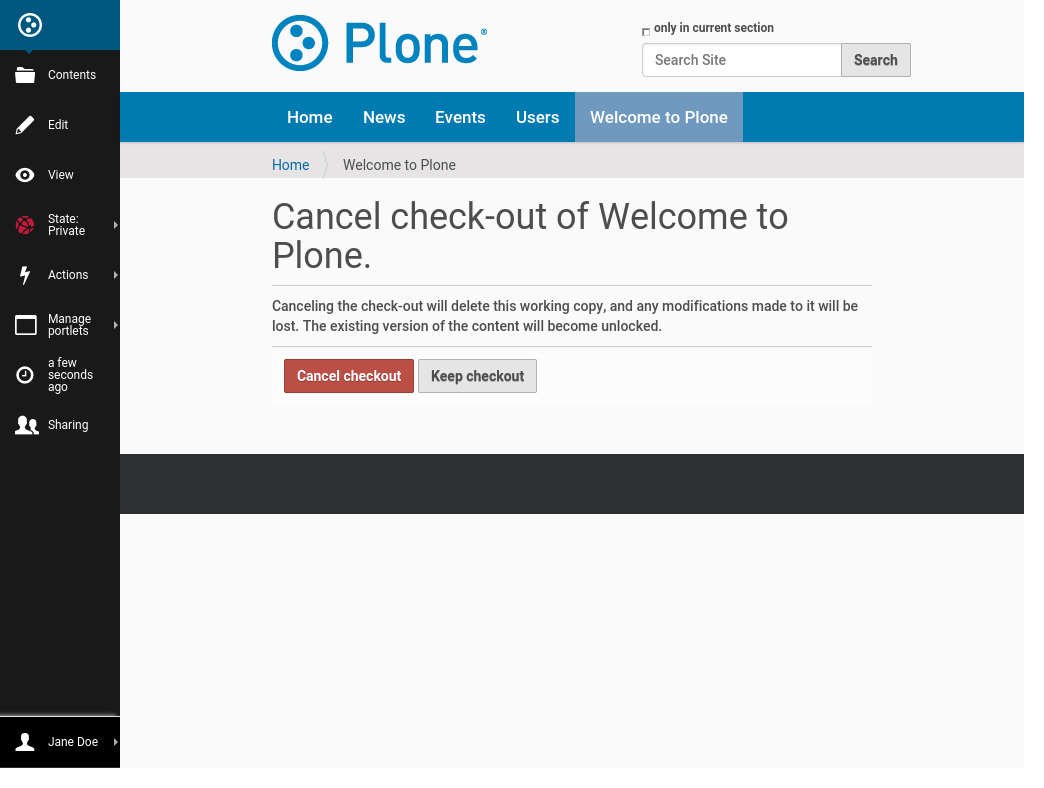
You will prompted to confirm the “Cancel checkout” or to “Keep checkout”:
Note
If the user who has checked out a working copy is not available to check in or cancel a check out, users with the Manager role may navigate to the working copy and perform either the check in or cancel check out actions. That’s because not all contributors have the Check in privilege. If that option is missing from your Actions menu:
Use the State menu.
Submit for publication.
Ask a reviewer to not change the state.
Ask the reviewer to perform the check in on your behalf instead.
The check in routine will handle the state.
