Adding Pages
Pages in Plone vary greatly, but are single “web pages,” of one sort or another.
To add a page, use the Add new… menu for a folder:

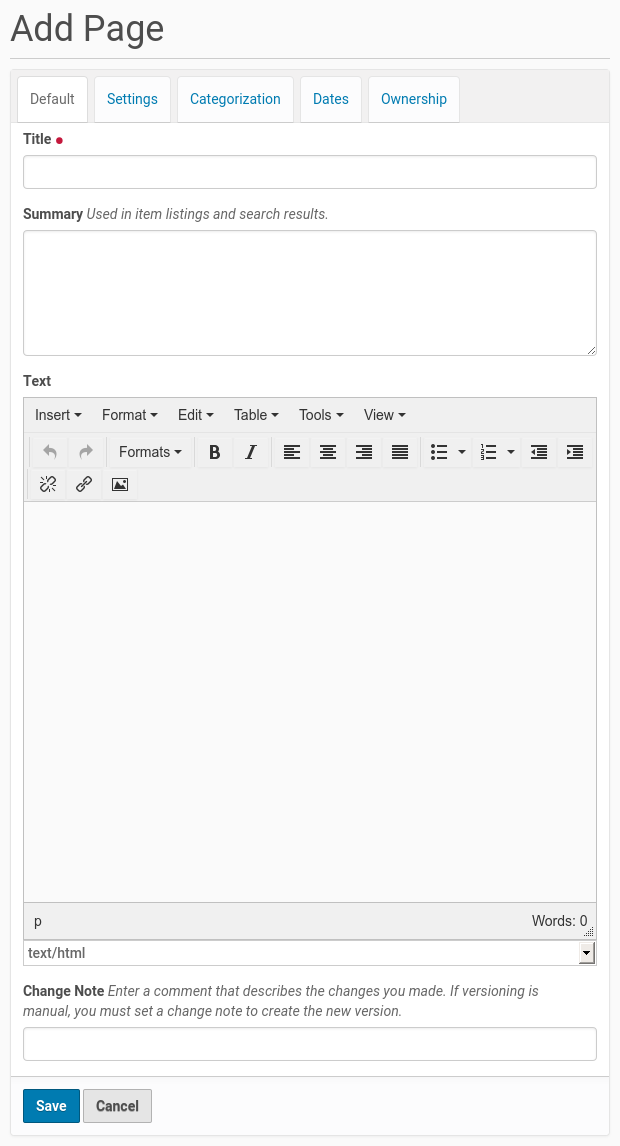
Select Page from the menu, and you’ll see the Add Page screen:

The Title and Description fields are there at the top. Fill each of them out appropriately. There is a Change note field at the bottom, also a standard input that is very useful for storing helpful memos describing changes to a document as you make them. This is useful for pages on which you may be collaborating with others.
The middle panel, Body Text, is where the action is for pages. The software used for making Pages in Plone, generically called visual editor and specifically a tool called TinyMCE, is a most important feature allowing you to do WYSIWYG editing. WYSIWYG editing – What You See Is What You Get – describes how word processing software works. When you make a change, such as setting a word to bold, you see the bold text immediately.
People are naturally comfortable with the WYSIWYG approach of typical word processors. We will describe later in this manual.
Markup languages
Your site-administrator may also enable so-called markup languages. If you are the sort of person who likes to enter text using so-called mark-up formats, you may switch off the visual editor under your personal preferences, which will replace it with a simplified textentry panel. The mark-up formats available in Plone are:
Each of these works by the embedding of special formatting codes within text. For example, with structured text formatting, surrounding a word or phrase by double asterisks will make that word or phrase bold, as in **This text would be bold.** These mark-up formats are worth learning for speed of input if you do a lot of page creation, or if you are adept at such slightly more technical approaches to entering text. Some people prefer such formats not for speed itself, but for fluidity of expression.
