
Upgrading Plone 5.0 to 5.1
Description
Instructions and tips for upgrading to Plone 5.1
Note
If you want to upgrade add-ons to Plone 5.1, please see Upgrade A Custom Add-on To Plone 5.1
General Information
Before you upgrade read Upgrading Plone and Preparations.
Always upgrade from the latest version of 5.0.x to the latest version of 5.1.x. This will resolve many migration-specific issues.
If you have problems don’t be afraid to ask for help on https://community.plone.org
Upgrading
To run the upgrade to 5.1 follow the links on top of the controlpanel or the ZMI to the form /@@plone-upgrade
Changes Between Plone 5.0 And 5.1
The following PLIPs (Plone Improvement Proposals) have been implemented for 5.1:
Meta Bundles Generation
This is PLIP 1277.
For End Users
Pages will load faster because JavaScript and CSS resources are bundled. An anonymous user will usually get one JavaScript file and one CSS file, instead of multiple.
For Developers
To make use of this, you should register your resource bundle to merge with the default or loggedin bundle.
<records prefix="plone.bundles/my-addon"
          interface='Products.CMFPlone.interfaces.IBundleRegistry'>
  <value key="merge_with">default</value>
  ...
</records>
Portal Actions Control Panel
This is PLIP 1342.
For End Users
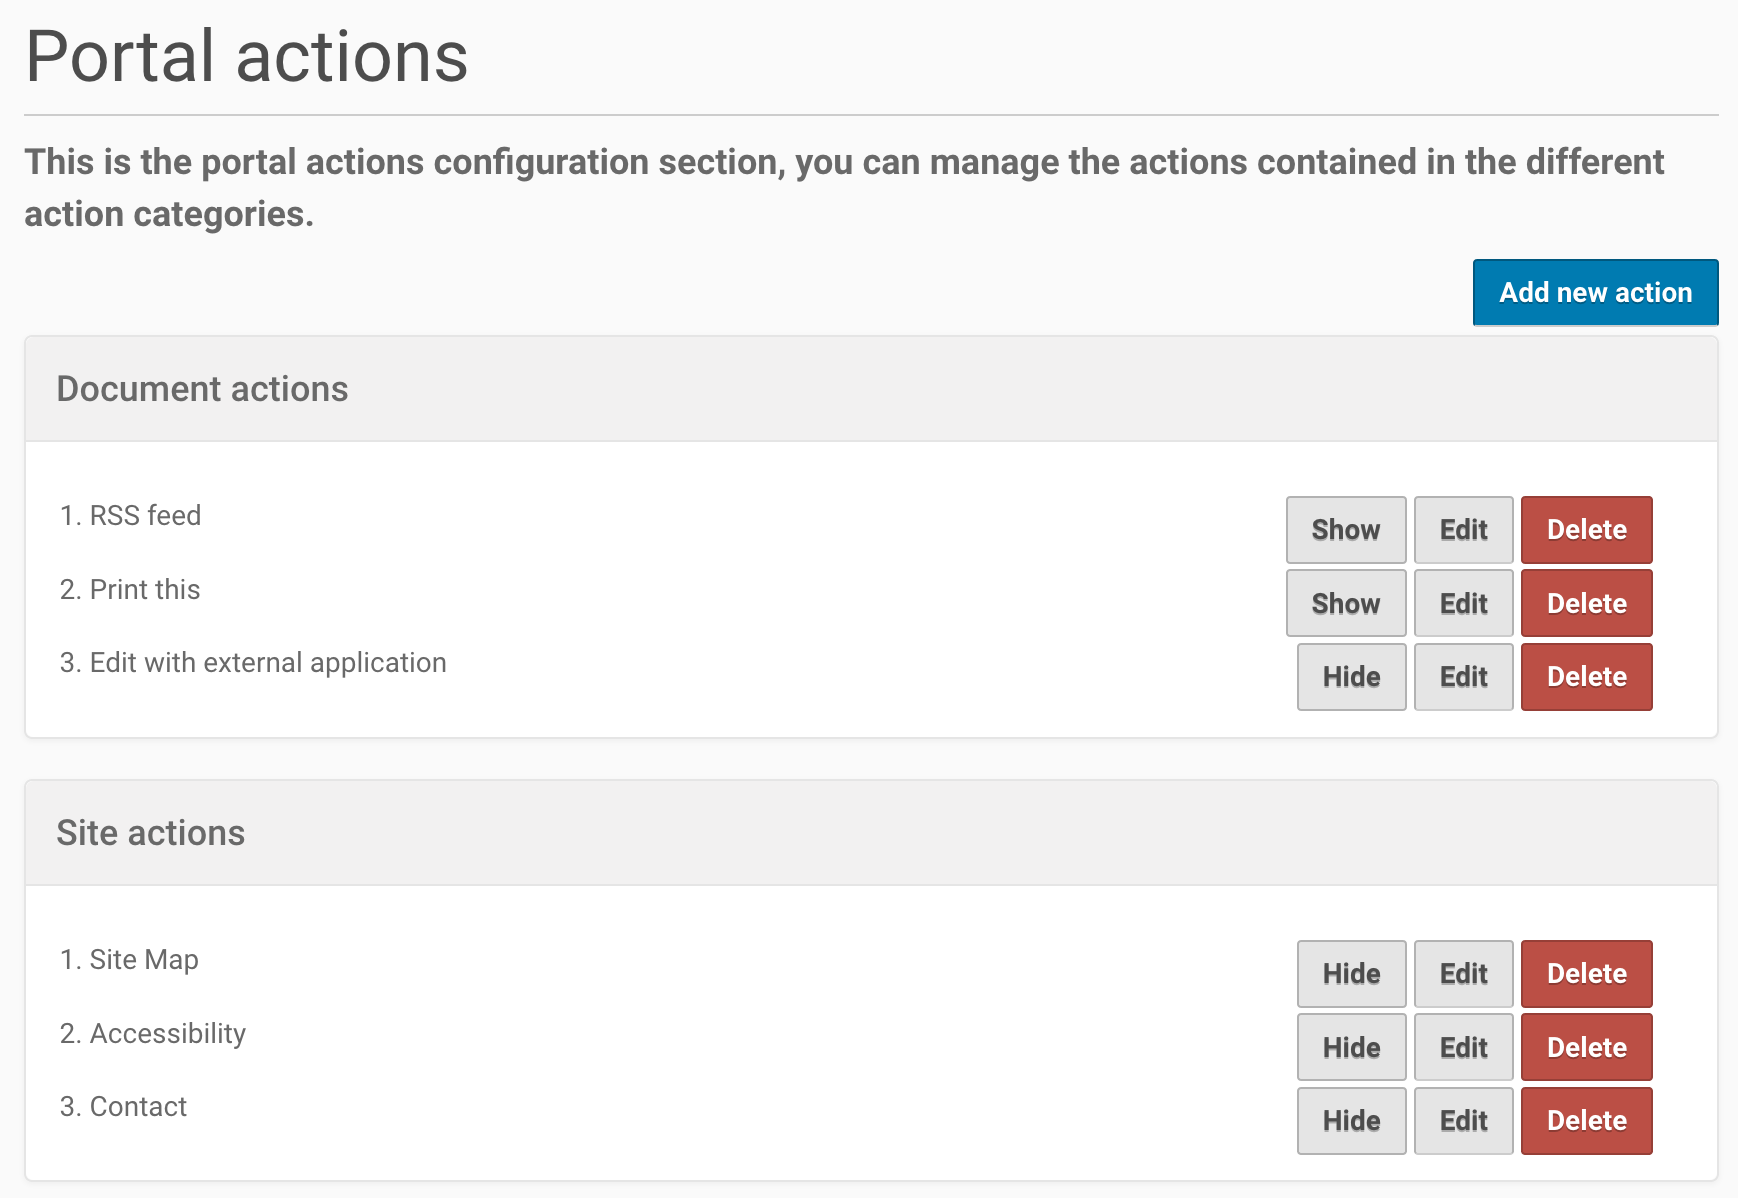
A new control panel allows site administrators to manage the default portal actions. These are for example site menus, user menus, footer links, etcetera. It also allows to add custom ones. Actions can be re-ordered, and can be hidden or displayed.
For Developers
Nothing changes.
Direct Link On Sharing Tab From Group Name Member List
This is PLIP 1310.
For End Users
When a Group is shown on the Sharing page, you can click on the group name to go to the list of members of that group.

For Developers
Nothing changes.
OpenID Removed From Core
This is PLIP 1659.
For End Users
Nothing changes.
For Developers
The plone.app.openid package is no longer shipped with Plone.
This was rarely used.
Nowadays there are better and more flexible implementations for OpenID supporting many other protocols, like the more widespread OAuth2.
See for example pas.plugins.authomatic.
plone.app.openid is still available as an add-on package, but is no longer maintained by core developers.
If you want to use this in your site, you must add plone.app.openid to the buildout eggs.
portal_quickinstaller Deprecated
This is PLIP 1340.
For End Users
Nothing changes.
For Developers
The add-ons control panel in Plone 5.1 no longer supports installation or uninstallation code
in Extensions/install.py or Extensions/Install.py.
If you have such code, you must switch to a GenericSetup profile.
GenericSetup is already the preferred way of writing installation code since Plone 3.
If you must use the old way, you can still use the portal_quickinstaller in the Management Interface.
The portal_quickinstaller is scheduled to go away completely in Plone 6.
For more information on changes to profiles and the add-ons control panel, see the add-on Installation code upgrade docs.
Conditionally Import Configuration Registry Records
This is PLIP 1406.
For End Users
Nothing changes.
For Developers
Importable records in registry.xml can be marked as conditional with the condition attribute, which supports the following condition values:
installed my.package, which causes record to be imported only when python modulemy.packageis available to be imported.not-installed my.package, which causes record to be imported only when python modulemy.packageis not available to be imported.have my-feature, which causes record to be imported only when ZCML feature flagmy-featurehas been registered (Zope2 only).not-have my-feature, which causes record to be imported only when ZCML feature flagmy-featurehas not been registered (Zope2 only).
For example, the following registry.xml step in the GenericSetup profile of your policy product, would only import records when module my.package is available:
<registry>
  <records interface="my.package.interfaces.IZooSettings"
           condition="installed my.package">
    <value key="entryPrice">40</value>
    <value key="messageOfTheDay">We've got lions and tigers!</value>
  </records>
</registry>
Note
This feature is actually already available since Plone 5.0.7.
For the have and not-have conditions, the following features are defined in Plone for seeing which Plone version is used:
plone-4plone-41plone-42plone-43plone-5plone-51plone-52
Note
These feature definitions have been defined since Plone 4.1.
A Plone version will define all previous features as well.
If have plone-43 is true, this means you are on Plone 4.3 or Plone 5 or higher.
More Configuration Registry Improvements
This is PLIP 1484.
For End Users
In the Configuration Registry control panel, you can import, export, add and delete records.
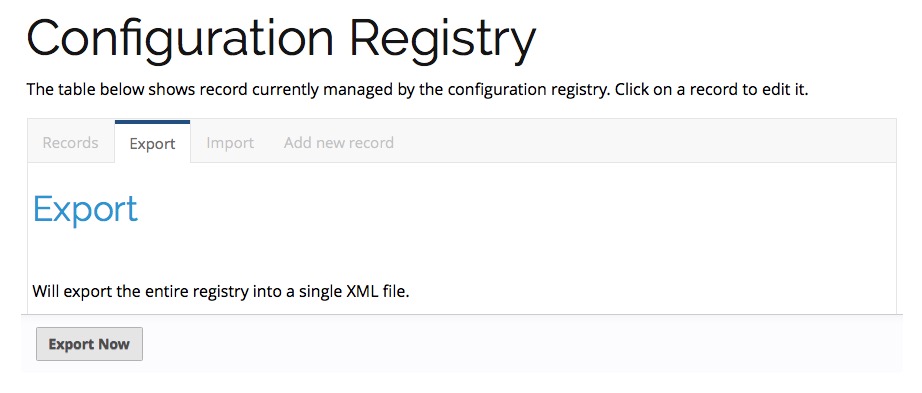
You can use the Configuration Registry control panel’s Export tab to export the entire registry into a single XML file.
When you click the Export Now button, a file named registry.xml will be downloaded to your computer.
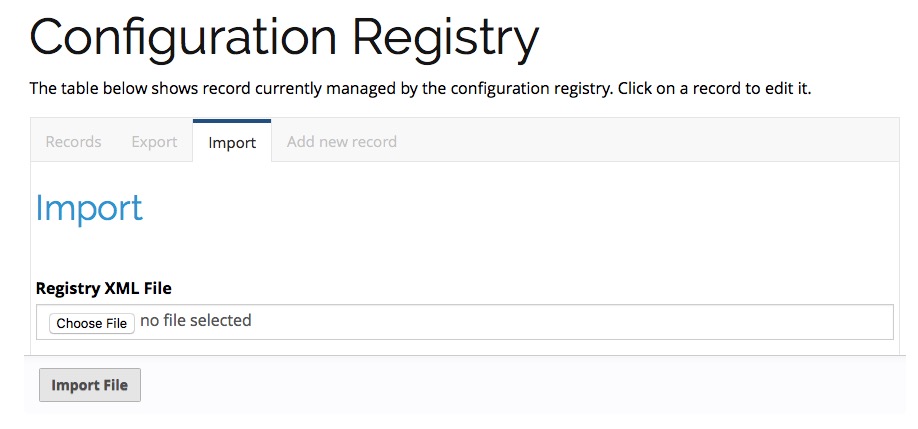
To import registry entries, use the Configuration Registry control panel’s Import tab, use the Choose File button to select an XML file from your computer containing the registry entries, then press the Import File button.
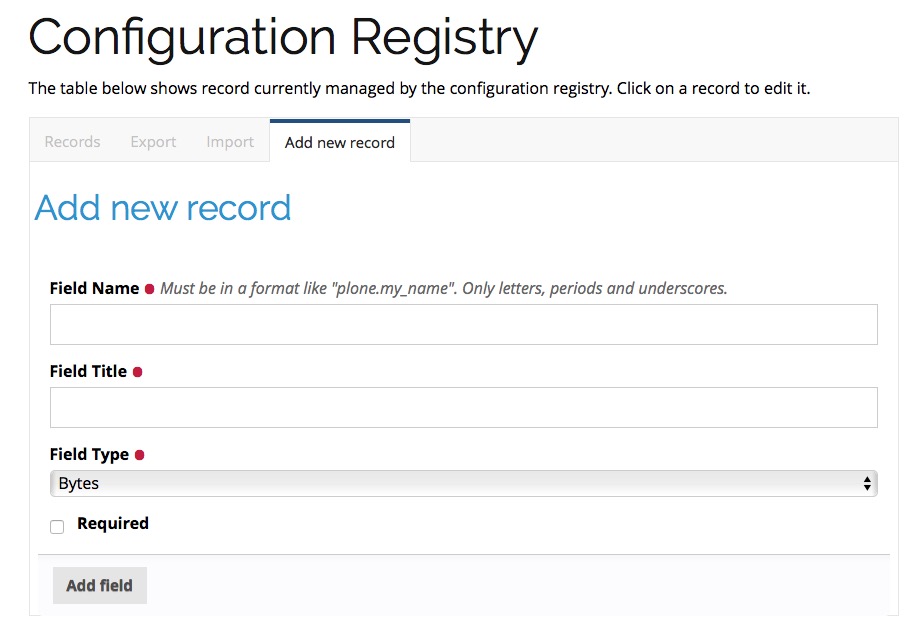
You can add individual registry records using the Configuration Registry control panel’s “Add new record” tab. Enter the registry record’s name, (human readable) title, select a data type, and optionally check the Required box if the record must have a value. Then press the “Add field” button.
For Developers
Instead of storing registry entries in a single, large registry.xml file, you can have Generic Setup load and process registry entries from multiple files.
This makes it easier to manage and organize the registry entries provided by your applications and add-ons.
Your add-on should include a folder named registry in its profile folder, for example profiles/default/registry.
Any XML files in that folder will be read and processed by the registry the same way it would have read and processed a single registry.xml file in the profiles/default folder.
The registry will process both the registry.xml file and the contents of a registry folder, if both exist.
Auto-Rotation For Images
This is PLIP 1673.
For End Users
Photos can contain metadata (exif data) about rotation.
When you upload an image, Plone now uses this metadata to show the image properly rotated.
Additionally, there is basic support for tiff images.
Previously, you could only upload them as simple files.
Now you can upload them as proper images, and they get scales (in the form of jpeg images).
For Developers
The plone.namedfile package was partially restructured.
If you are using utility functions or internal methods from this package, you should check that your code still works.
The piexif was added as dependency.
Faster Indexing
This is PLIP 1343.
For End Users
Adding or editing a document is faster, because care was taken to avoid duplicate indexing operations.
For Developers
The collective.indexing package was merged into the core of Plone. This makes sure that objects are only indexed once per transaction.
It also gives hooks for calling external indexers, like Solr and Elasticsearch. See Using external catalogs.
There is a workaround when you get Catalog Errors During Upgrades.
Use lxml Cleaner For Safehtml Transforms
This is PLIP 1441
For End Users
Nothing changes.
For Developers
The transform for making html safe (like removing script tags) got a big cleanup.
Instead of the obsolete SGMLParser, the lxml library is used.
This might give slightly different results.
Easily Change Default Search Order
This is PLIP 1600.
For End Users
On the search page, results are by default sorted by relevance. Visitors could already choose a different sort order each time. New is that a site administrator can choose a different default. In Site Setup, go to the Search Settings and set the Sort on field. Options are: relevance, date (newest first) and alphabetically.
Note
This feature was backported and is actually already available since Plone 4.3.12. It is not in Plone 5.0 though.
For Developers
If you need to directly interact with this feature in code, you can use the Products.CMFPlone.interfaces.ISearchSchema.sort_on registry field.
HiDPI Image Scales
This is PLIP 1483.
For End Users
HiDPI stands for High Dots Per Image. In the Image Handling Settings control panel in Site Setup, you can configure HiDPI mode for extra sharp images. Monitors that support this, will show the extra sharp images, others will fall back to showing the standard image.
By default it is disabled.
You can enable it for showing double density (2x) or double and triple density (2x, 3x).
The monitor of the visitor will show the best available density.
Compare this low resolution image:
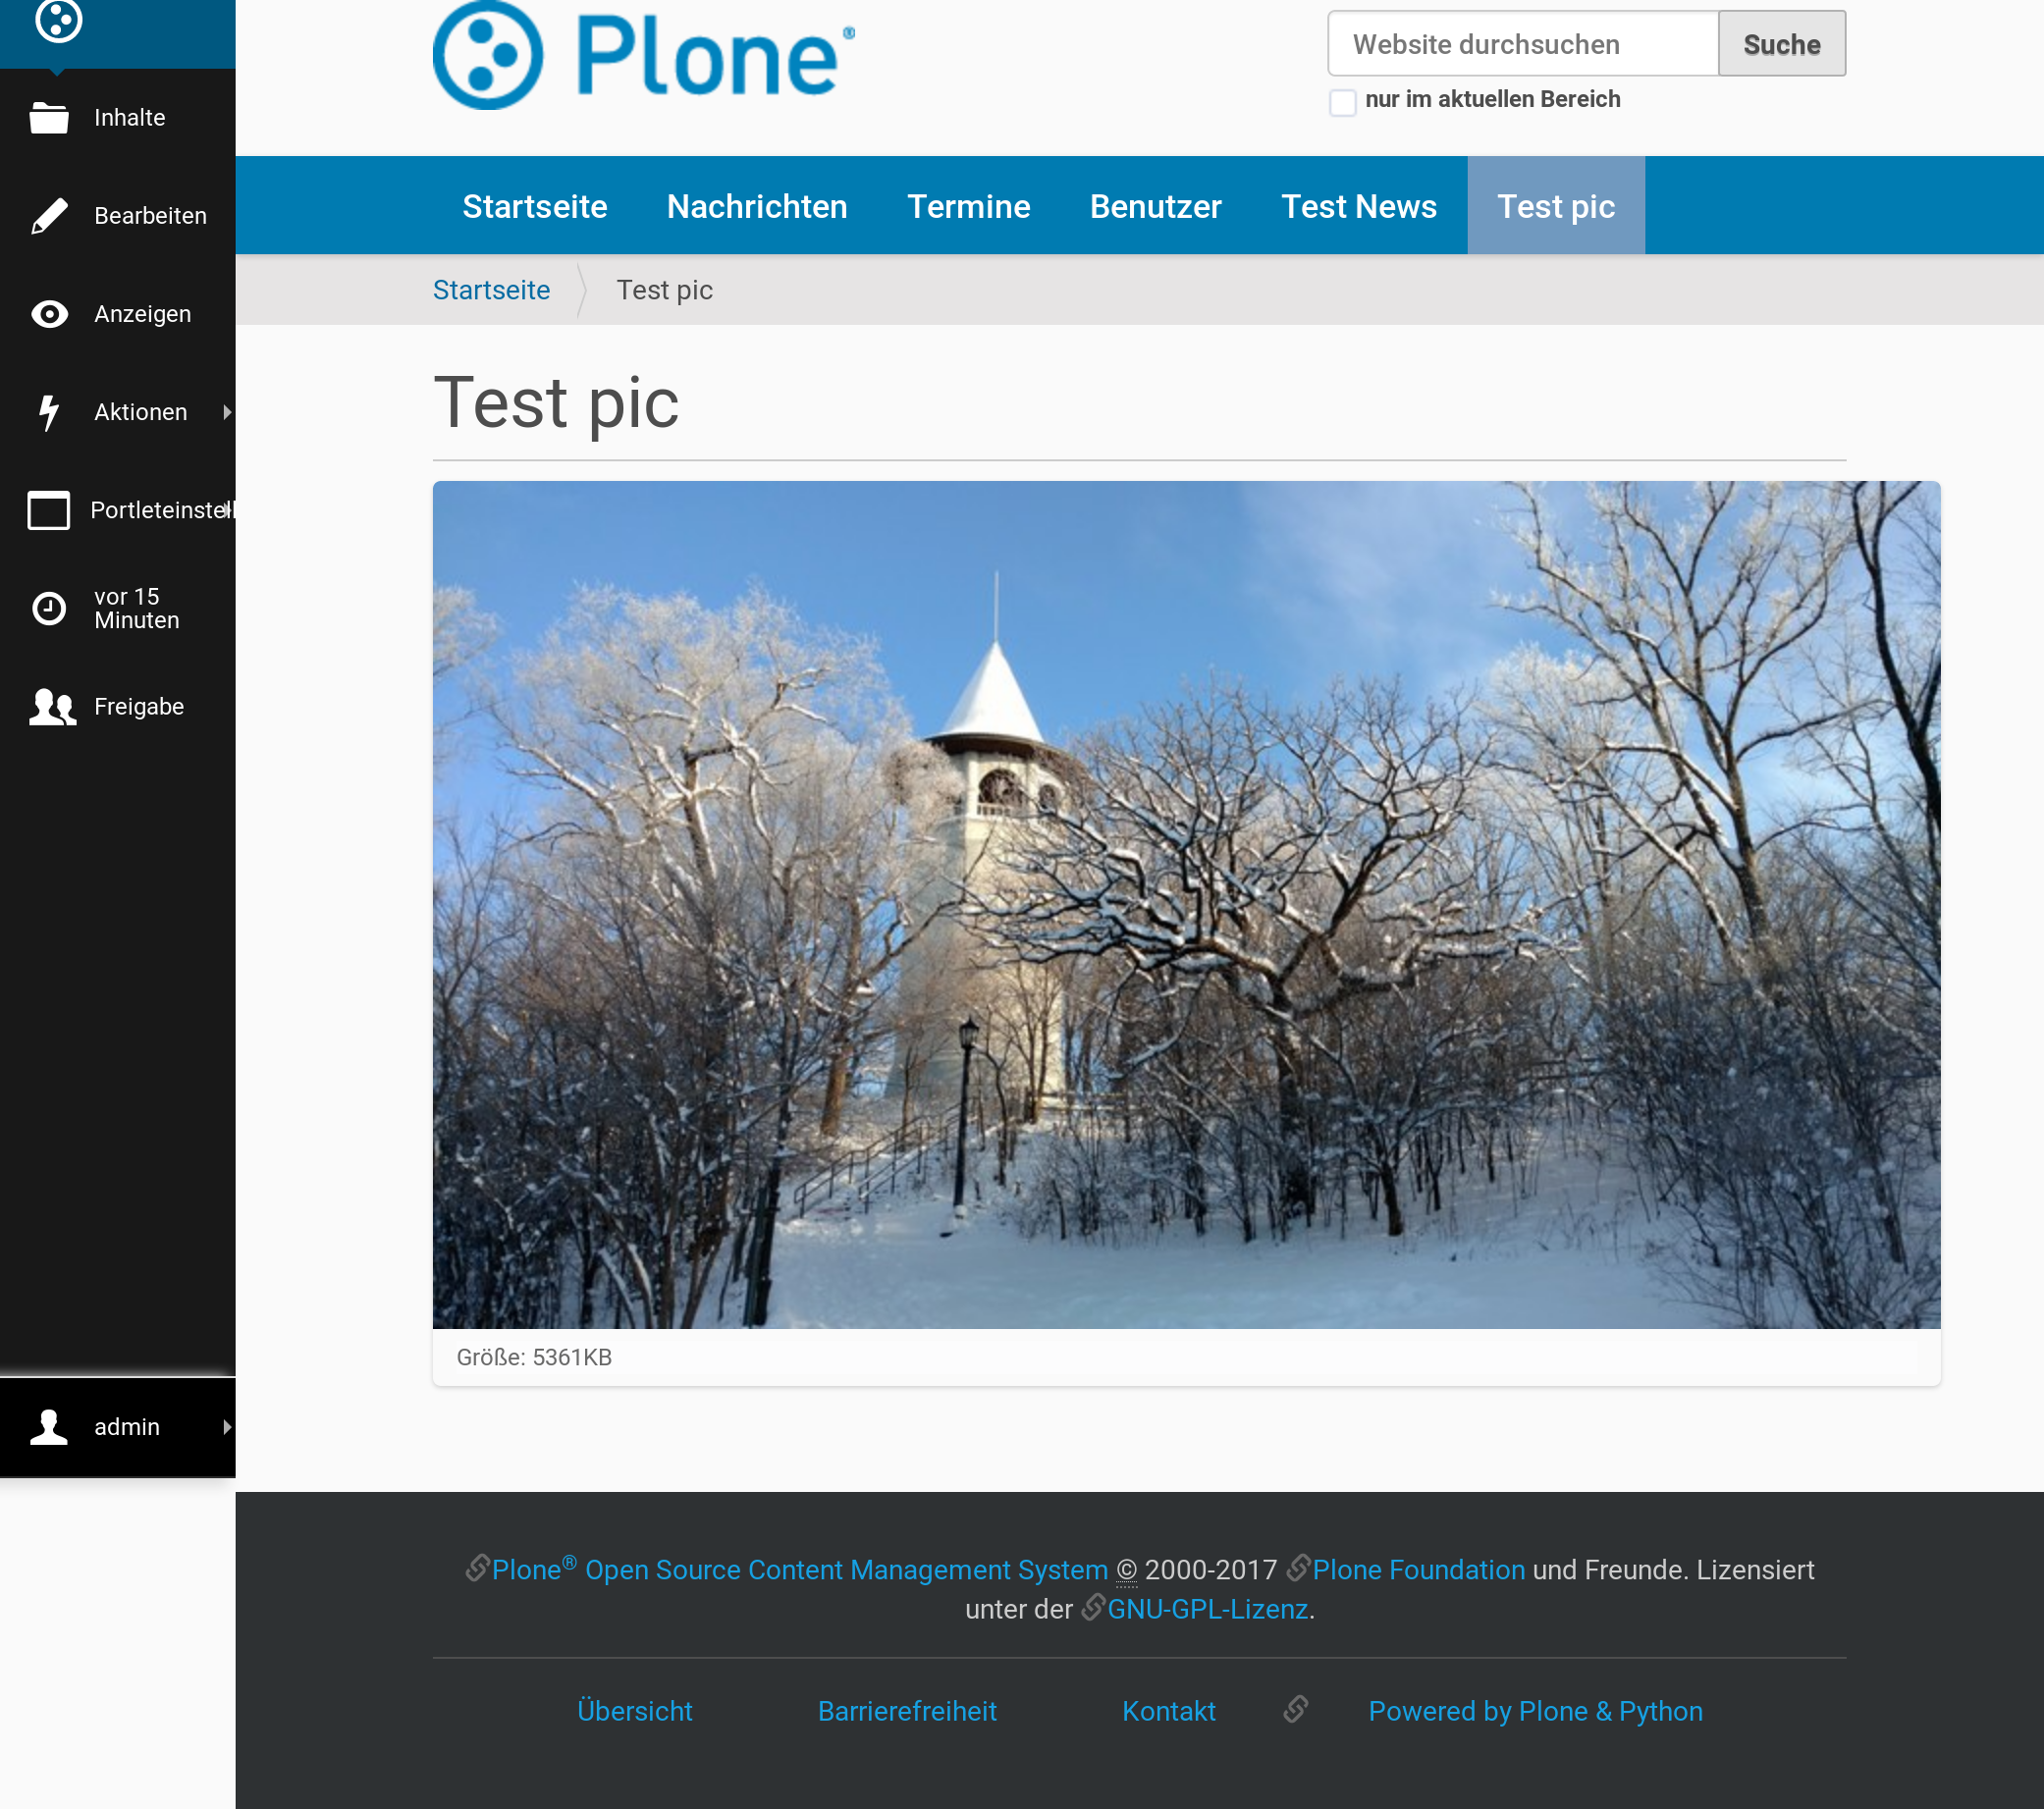
with this high resolution image:
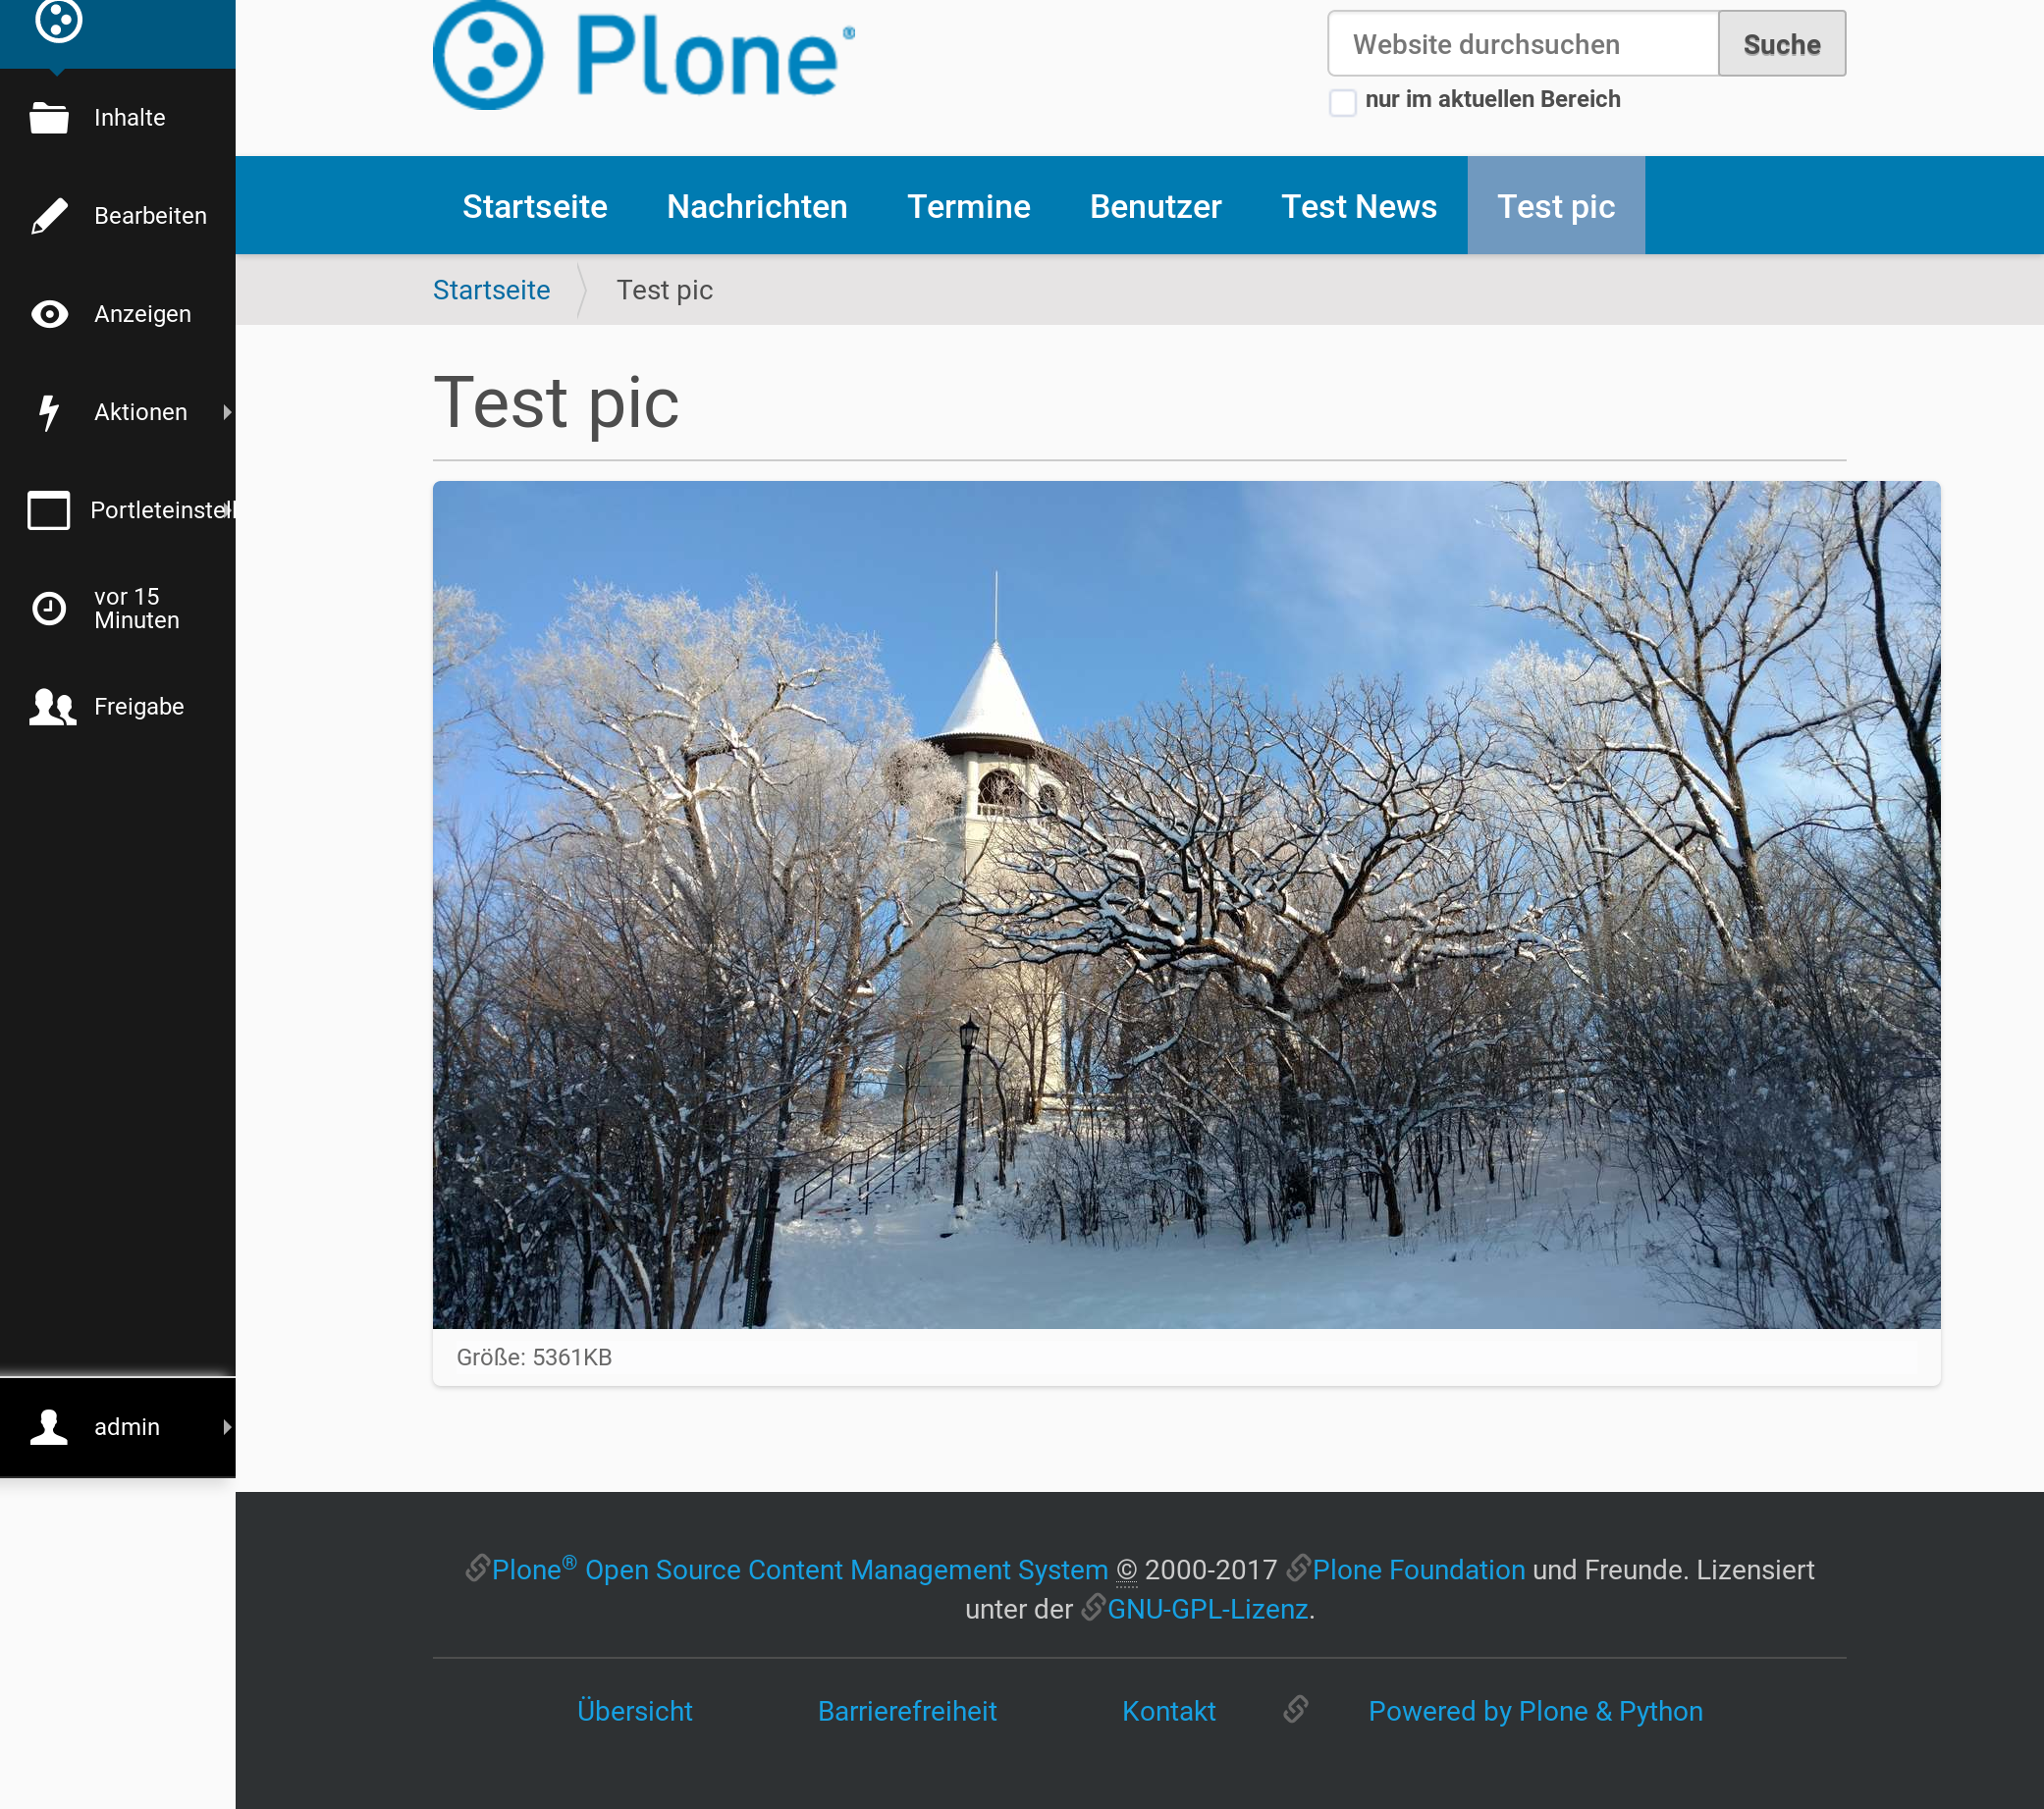
Note
These pictures are copyright Johannes Raggam. They show the “Which Hat Tower” in Minneapolis
For Developers
When you enable this, it will result in image tags like this, for improved viewing on HiDPI screens:
<img src="....jpeg" alt="alt text" title="some title" class="image-tile"
     srcset="...jpeg 2x, ...jpeg 3x" height="64" width="48">
A fun way to check that this is effective, is by using two monitors connected to the same computer. Empty the cache of your browser and open the network tab of your browser. Load a page with an image on a standard monitor and you will see that a small image is downloaded. Drag the page to the second, HiDPI-capable monitor, and you will see that a second, larger image is downloaded.
The Plone templates use this feature when available.
To benefit from this new feature in add-on code, you must use the tag method of image scales:
<img tal:define="images obj/@@images"
     tal:replace="structure python:images.scale('image', scale='tile').tag(css_class='image-tile')">
If you are iterating over a list of image brains, you should
use the new @@image_scale view of the portal or the navigation root.
This will cache the result in memory, which avoids waking up the objects the next time.
<tal:block define="image_scale portal/@@image_scale">
    <tal:results tal:repeat="brain batch">
        <img tal:replace="structure python:image_scale.tag(item, 'image', scale='tile', css_class='image-tile')">
    </tal:results>
</tal:block>
Note
Images added in the TinyMCE editor do not currently benefit from this feature.
Cleanup And Enhance Icon And Thumb Aspects
This is PLIP 1734.
For End Users
The Site Control Panel now has more detailed options for handling icons and thumbnails. You can switch off showing thumbs in portlets, list views, summary views or table views. And if you show them, you can set a different scale for each.
For Developers
For the current best way of showing icons for a custom content type, see Content Type Icons.
If you want to allow editors to suppress showing thumbs or icons in individual folders, or to override the thumb size in listings, you should enable the plone.thumb_icon behavior.
This is the plone.app.contenttypes.behaviors.thumb_icon.IThumbIconHandling interface.
Your folderish content types should either use the templates from plone.app.contenttypes or look there for seeing how to properly handle icons and thumbs.
Rejected And Postponed PLIPs
For details about rejected or postponed PLIPs see the github PLIP project and the Framework Team PLIP status sheet.
Known Issues
Catalog Errors During Upgrades
With the PLIP assimilate collective.indexing the operations for indexing, reindexing and unindexing are queued, optimized and only processed at the end of the transaction.
Only one indexing operation is done per object on any transaction. Some tests and features might expect that objects are being indexed/reindexed/unindexed right away.
You can disable queuing altogether by setting the environment-variable CATALOG_OPTIMIZATION_DISABLED to 1:
CATALOG_OPTIMIZATION_DISABLED=1 ./bin/instance start
It is a good idea to set CATALOG_OPTIMIZATION_DISABLED=1 when upgrading if you get error messages related to the catalog.